


03.05.2024 - 04.05.2024
Zahntechnik plus
Leipzig, Germany
03.05.2024 - 06.05.2024
AAO
New Orleans, USA
16.05.2024 - 18.05.2024
Expodental Rimini
Rimini, Italy
17.05.2024 - 18.05.2024
DTS 2024
Birmingham, United Kingdom
17.05.2024 - 17.05.2024
Lab Day West
Garden Grove, USA
22.05.2024 - 25.05.2024
Dentex Algiers
Algiers, Algeria
30.05.2024 - 01.06.2024
Jahrestagung der Arbeitsgemeinschaft Dentale Technologie
Nürtingen, Germany
06.06.2024 - 09.06.2024
Dental Expo El Jadida
El Jadida, Morocco
06.06.2024 - 08.06.2024
Dentex
Zagreb, Croatia
07.06.2024 - 08.06.2024
FDLA
Orlando, USA
{- subtitle -}
{- title -}
{- text -}
{- title -}
{- text -}
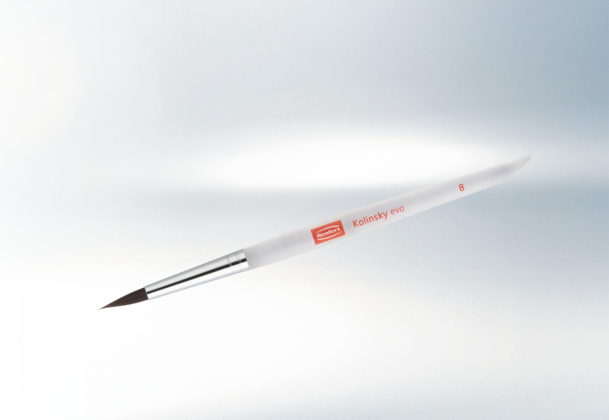
23.02.2024
Kolinsky evo: il campione dell’efficienza tra i pennelli per ceramica ora anche con le setole bioniche Bionic Hair
09.11.2023
Easyclean TEC: Top Cleaning Performance – Top Design
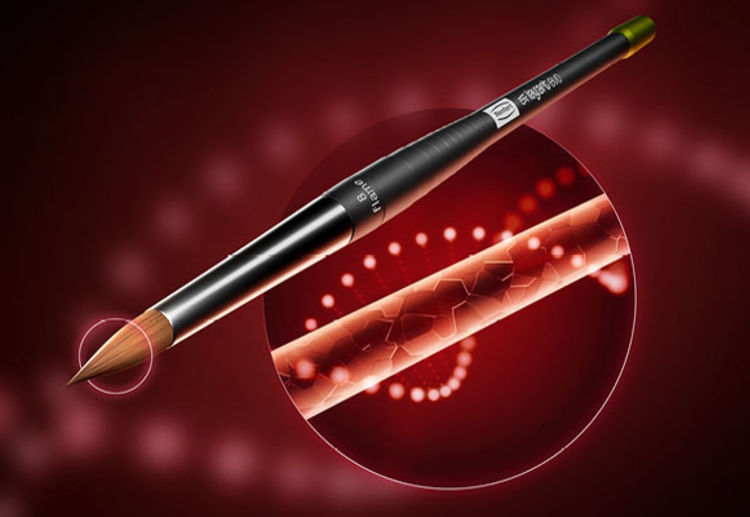
25.09.2023
lay:art evo: Il nuovo pennello top di gamma con setole bioniche
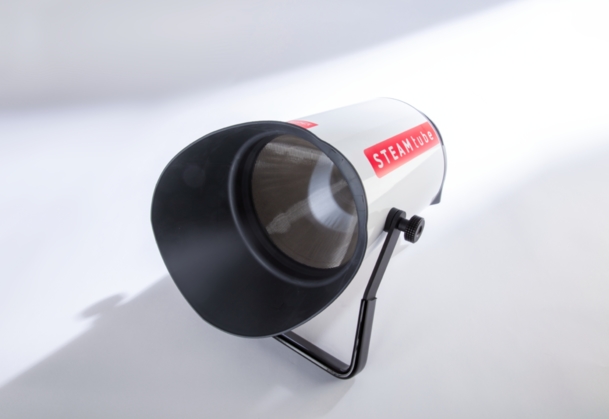
04.09.2023
STEAM tube – l’ingegnoso box di Renfert per la pulizia con il getto di vapore
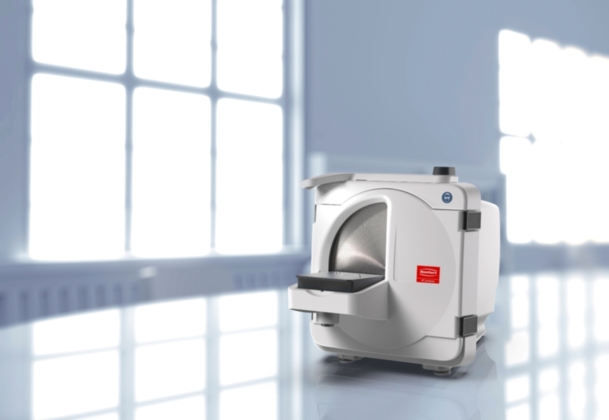
03.07.2023
La vaporiera POWER steamer definisce un nuovo standard in termini di affidabilità
07.03.2023
Renfert introduce un isolante specifico per modelli stampati
07.03.2023
Renfert definisce elevati standard con il potente aspiratore CAM
07.03.2023
Renfert lancia un apparecchio per pulizia ad ultrasuoni con funzioni intelligenti conforme con MDR
07.03.2023
Renfert lancia la squadramodelli ad alte prestazioni con caratteristiche pratiche
07.03.2023
Lo spray opacizzante 3D Renfert extra fine convince
{- subtitle -}
{- title -}
{- text -}
{- title -}
{- text -}